


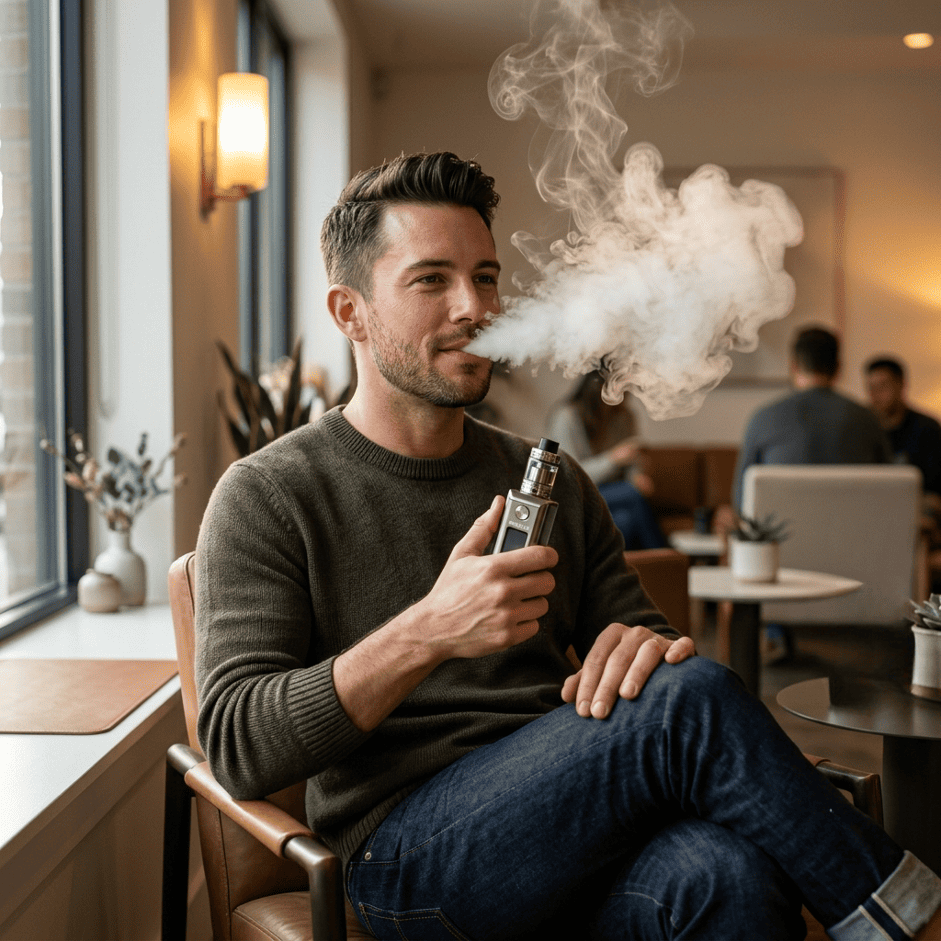
You have just filled a new tank with delicious e-juice and are ready to take your first puff, only to discover that your vape tastes burnt due to a lack of proper maintenance. Yet you know that with the right maintenance, the vaporizer can provide a superior vaping experience and flavor. Like other high-tech electronics, vaporizers require regular upkeep so you receive the best possible vapor experience and the longest possible lifespan from your vape.
In this article, we will look at how poorly maintained devices perform and how to take care of the key components of a vaporizer. Let’s explore the simple habits you can adopt to keep your vaporizer in the same condition as when you bought it, even after using it for a month or more.
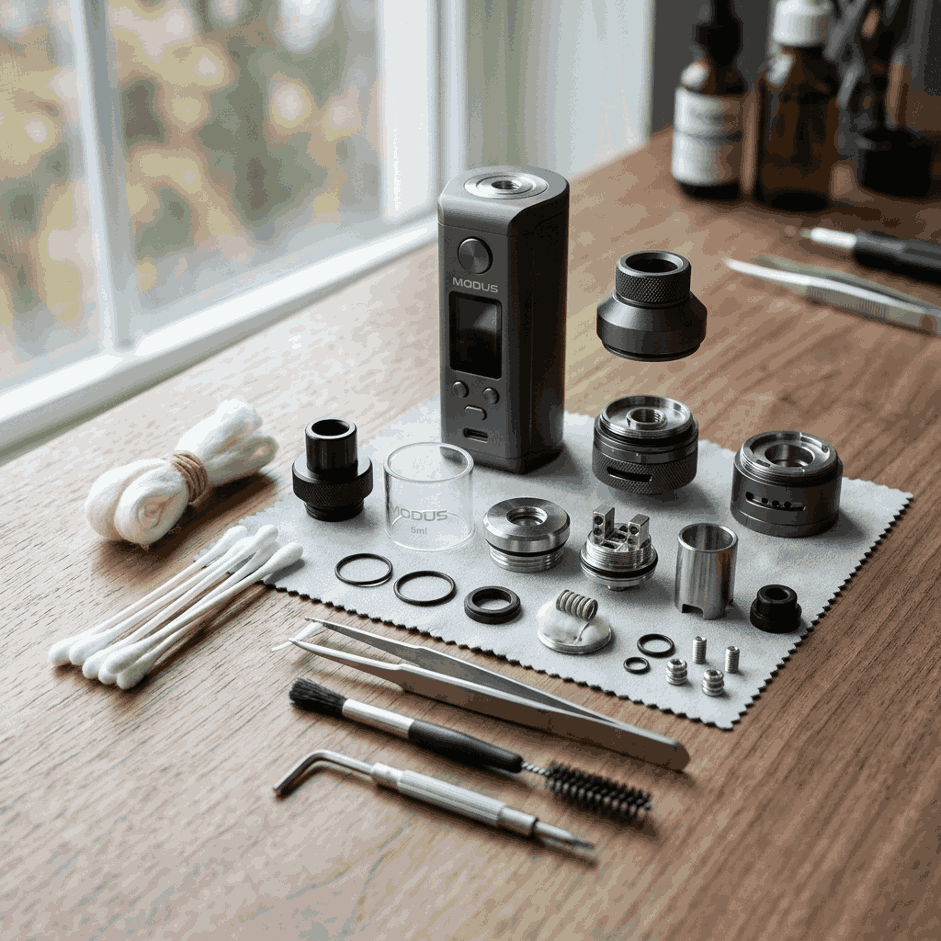
Table of Contents
What Happens When You Skip Vaporizer Maintenance?
With each inhalation or puff from a vaporizer, numerous microscopic particulates are left behind. Although vapor seems clean when initially exhaled, the vapor eventually builds up over time with trace amounts of sweeteners, flavours, and vegetable glycerin.
As more residue builds up on the coil, an insulating layer forms around it, making it harder for your coil to reach the same temperature and producing uneven heating. This layered build-up of remnants from the atomiser leads to repeated caramelisation of any e-liquid that has been vapourised, resulting in a burnt flavour in your e-liquid and a shortened lifespan of your coil.
The problems caused by build-up are not limited to just flavor. When e-liquid vapor accumulates on electrical contacts and threaded connections, it can spread and eventually impair conductivity between the electrical contacts. This can lead to issues such as inconsistent firing, voltage drops, and overall unreliable performance.
Step-by-Step Maintenance Guidelines
- Cleaning Your Tank Before The Flavor Is Ruined
Simply rinsing the tank often isn’t enough if you have a buildup of residue forming in the chamber. You will need to take your tank apart completely and rinse out all of the tank’s metal and glass pieces with warm water. You may need to use high-purity Isopropyl alcohol to help clean off stubborn areas on the metal and glass parts of your tank. Once you are finished rinsing everything out, allow all of the parts to dry completely before reassembling your tank.
Avoid soaking your rubber seals for long periods of time, as repeated exposure to alcohol will reduce their flexibility over time.
- Protecting Your O-Rings
In addition to preventing vapor leaks, o-rings also help regulate the amount of internal pressure in the device to provide a consistent flow and wick well.
You should check all seals whenever you clean your tank. If you see that any of your seals are flattened, cracked, or stretched, you need to replace them before you start to have leaks.
To avoid excessive stress on O-rings during your tank’s assembly, ensure your O-rings are lightly moistened with new e-liquid before sliding them into position. This will allow you to slide them into position without twisting them during assembly.
- Keeping Threads and Electrical Connections Clean
While the importance of threaded connections cannot be overstated, users often forget this during their weekly or monthly cleaning. Threaded connections are important in providing stable and long-term power delivery.
To clean condensation and debris from threaded and electrical connections, always use a dry microfiber piece of cloth or a cotton swab. If you feel resistance when you try to screw two threads together, never force them, as it can damage threaded connections.
Many vape lovers use these ways to clean their vape’s connection, along with using high-quality vape parts from trusted suppliers such as Optimal Vapors, to ensure that their seals, coils, and accessories fit perfectly, just as engineered.
- Properly Prime Every New Coil
Most coils are burnt out before they are even fully saturated with e-liquids, within minutes after their first vape session. Instead, they’re typically burnt out because they are heated before they have had a chance to saturate fully.
To avoid burnt coils:
- Add a few drops of e-liquid to the exposed cotton on the new coil before putting it into the tank.
- Fill your tank with e-liquid and allow it to sit undisturbed for approximately 5 to 10 minutes.
- Start by vaping at the lowest recommended wattage and slowly work your way up to higher wattage settings.
Use this easy process to reduce dry spots on wicks that could have led to permanent scorch marks.
- Daily Care vs. Cleaning
You do not need to completely disassemble your device after every use; a quick daily check is enough to keep it in good condition. However, you will also need to perform a deep clean occasionally to remove any accumulated dirt or debris. The table below outlines the type of maintenance required and when it should be done.
| Daily Care | Deep Cleaning |
| Wipe down the exterior and contacts | Disassemble and clean all components |
| Repair any leaks | Remove any persistent residues |
| Monitor the amount of e-liquid in your device | Check the O-rings and replace them if needed |
| Approximately 2 minutes | Approximately 15-20 minutes |
By combining the use of daily care and deep cleaning regularly, you can address most performance problems before they cost more to repair than they did to replace.
How to Avoid Mistakes that Shorten Your Vaporizer’s Lifespan?
- Use Battery Safety to Extend Battery Life
- Do not leave your device in a hot vehicle or under direct sunlight.
- Make sure to recharge your vaporizer before it drains.
- Store spare batteries in a battery protector or case.
- Inspect vaporizer battery wraps frequently for tears or damage.
- If your vaporizer gets very hot, please stop using it.
- Maintain Your Device Properly to Avoid Damage
Don’t make these common mistakes that create unnecessary wear to your device:
- “Over-tightening” tanks creates damage to the threads of the tank and o-rings.
- Using excessive amounts of cleaning liquid near electrical contacts.
- Not addressing small leaks that lead to corrosion inside the device.
- Waiting too long to change the coil will reduce flavor and put stress on the atomizer heating element.
Conclusion
The main factor that determines the life of a vaporizer is how well it has been cared for. Regularly cleaning the threads and checking the O-rings, as well as properly priming the coils, will help extend both the life and quality of your vaporizer.
View your vape as an investment rather than just a disposable device. Spending at least 5 to 10 minutes a week to maintain your vaporizer will not only extend its lifespan but also preserve its original flavor. This is one of the best habits vaporizer users can adopt to keep their devices in good working condition.
